There may be times when you want to have a document on the website that you can link to from webpages or other materials. Though it is common to use documents in your everyday work, it is important to be conservative about your use of documents on the website. Most information is better published in the format of web content, rather than external documents such as .PDF, .DOC, or .XLS files.
In certain instances, however, uploading a document to the website may be advantageous for the nuances within your workflow or the intended usage for end users. Once you have identified a clear and specific need for a document on your page, you are ready to learn how to upload a document and update it for changes.
 Instructional Videos
 Instructional Videos
Watch these 2-minute tutorials for an initial overview of linking to and updating documents, or scroll below to see complete written instructions.
*Note: Click Full screen icon for best view.
How to Upload a New Document
1. Identify the Need for a Document
Given the known disadvantages of documents on websites, it is worth pausing to ensure that you can justify your need to host a document online. Consider this opportunity to reimagine an old process: make your static document's content more effective by transferring it into a webpage format that can successfully engage your digital-first audience.
For multiple reasons, it is typically best to convert the information from an old document into nicely designed content on a webpage (or multiple webpages) to use moving forward. Reimagining information as web content enhances the following aspects of user experience, as compared to storing it in a document:
- usability: web content is more natural to consume on a screen than documents
- searchability: web content is easier to parse with search tools (i.e., Google) than documents
- navigation: web content offers more robust navigation menus and links than documents
- accessibility: web content adapts to tools that help people with disabilities more than documents
- responsiveness: web content displays information on different screen sizes better than documents
Though there are many points in favor of web content over documents, there are a few instances when a document is advantageous. If the information in your document meets one or more of the following criteria, it may be justifiable to keep in its document format:
- The information is intended to be downloaded and printed in a specific format by the end user (e.g., formal documents such as CVs, or contracts such as those that require signatures by hand).
- The information is designed to be downloaded and edited/interacted with by the end user (e.g., presentation slides, fillable spreadsheets and text documents, or visual assets).
- The information is frequently updated in its original document format, and it would not be realistic to manually convert into a webpage on a regular basis (e.g., course syllabi or academic planning files).
- The information is exceptionally long, and it would require too much upfront time to manually convert into a webpage, although this could be a good future project (e.g., handbooks, manuals, or brochures).
PRO TIP: Calendars, charts, or applications that currently exist in the format of a document are usually best provided as web content. Consider the Snippets for Data Table or Columns to reimagine a calendar or chart, or request an online form via Web Support to replace a PDF application.
2. Add the Document
If your need for a document meets the necessary criteria to proceed, the next step is to upload the document to the CalLutheran.edu website.
While you are Editing a Page, click the  link in the upper left corner of the page. Then, navigate to the root menu item for your section of the website and select the documents folder. Click the
  button in the upper right corner of the page to open the Upload to... window and then click the
  button to add the file from your computer, as seen in the example below.

EXTRA INSIGHT: A document can be uploaded anywhere on the website, but it is encouraged to upload it to the documents folder in your section of the website. This keeps an organized file system.
3. Name the Document
Because your document will be viewable to your audience on the CalLutheran.edu website, it is important to name your document in a clean and logical manner. As seen in the example above, Modern Campus CMS indicates that a filename is invalid if it contains spaces, but there are other recommended conventions as well.
Here are the recommended conventions when naming a document:
- Capitalize in lowercase for all letters and words.
- Use simple words that are easy to understand.
- Avoid jargon, abbreviations, and acronyms that could confuse your audience.
- Omit unnecessary phrases, such as "copy of", "approved", or "final".
- Use dashes instead of spaces or underscores.
- Keep the file extension, such as .PDF, .DOC, or .XLS.
If needed, you can rename your document in the Upload to... window by clicking the![]() icon and choosing the
icon and choosing the  option to enter a new name. Then, click the
  button, as seen with the newly re-named document in the example below.

4. Publish the Document
After you have uploaded your document, click the![]() icon and select the
icon and select the  button to open the Publish... window. Then, click the
  button to publish the document on the CalLutheran.edu website, as seen in the example below.

5. Link to the Document
Once you receive the File is now published banner in the bottom left corner, your document is viewable to the public but is not yet discoverable. If you would like your document to be discoverable, you will need to link to it from somewhere else.
There are two ways to link to the document:
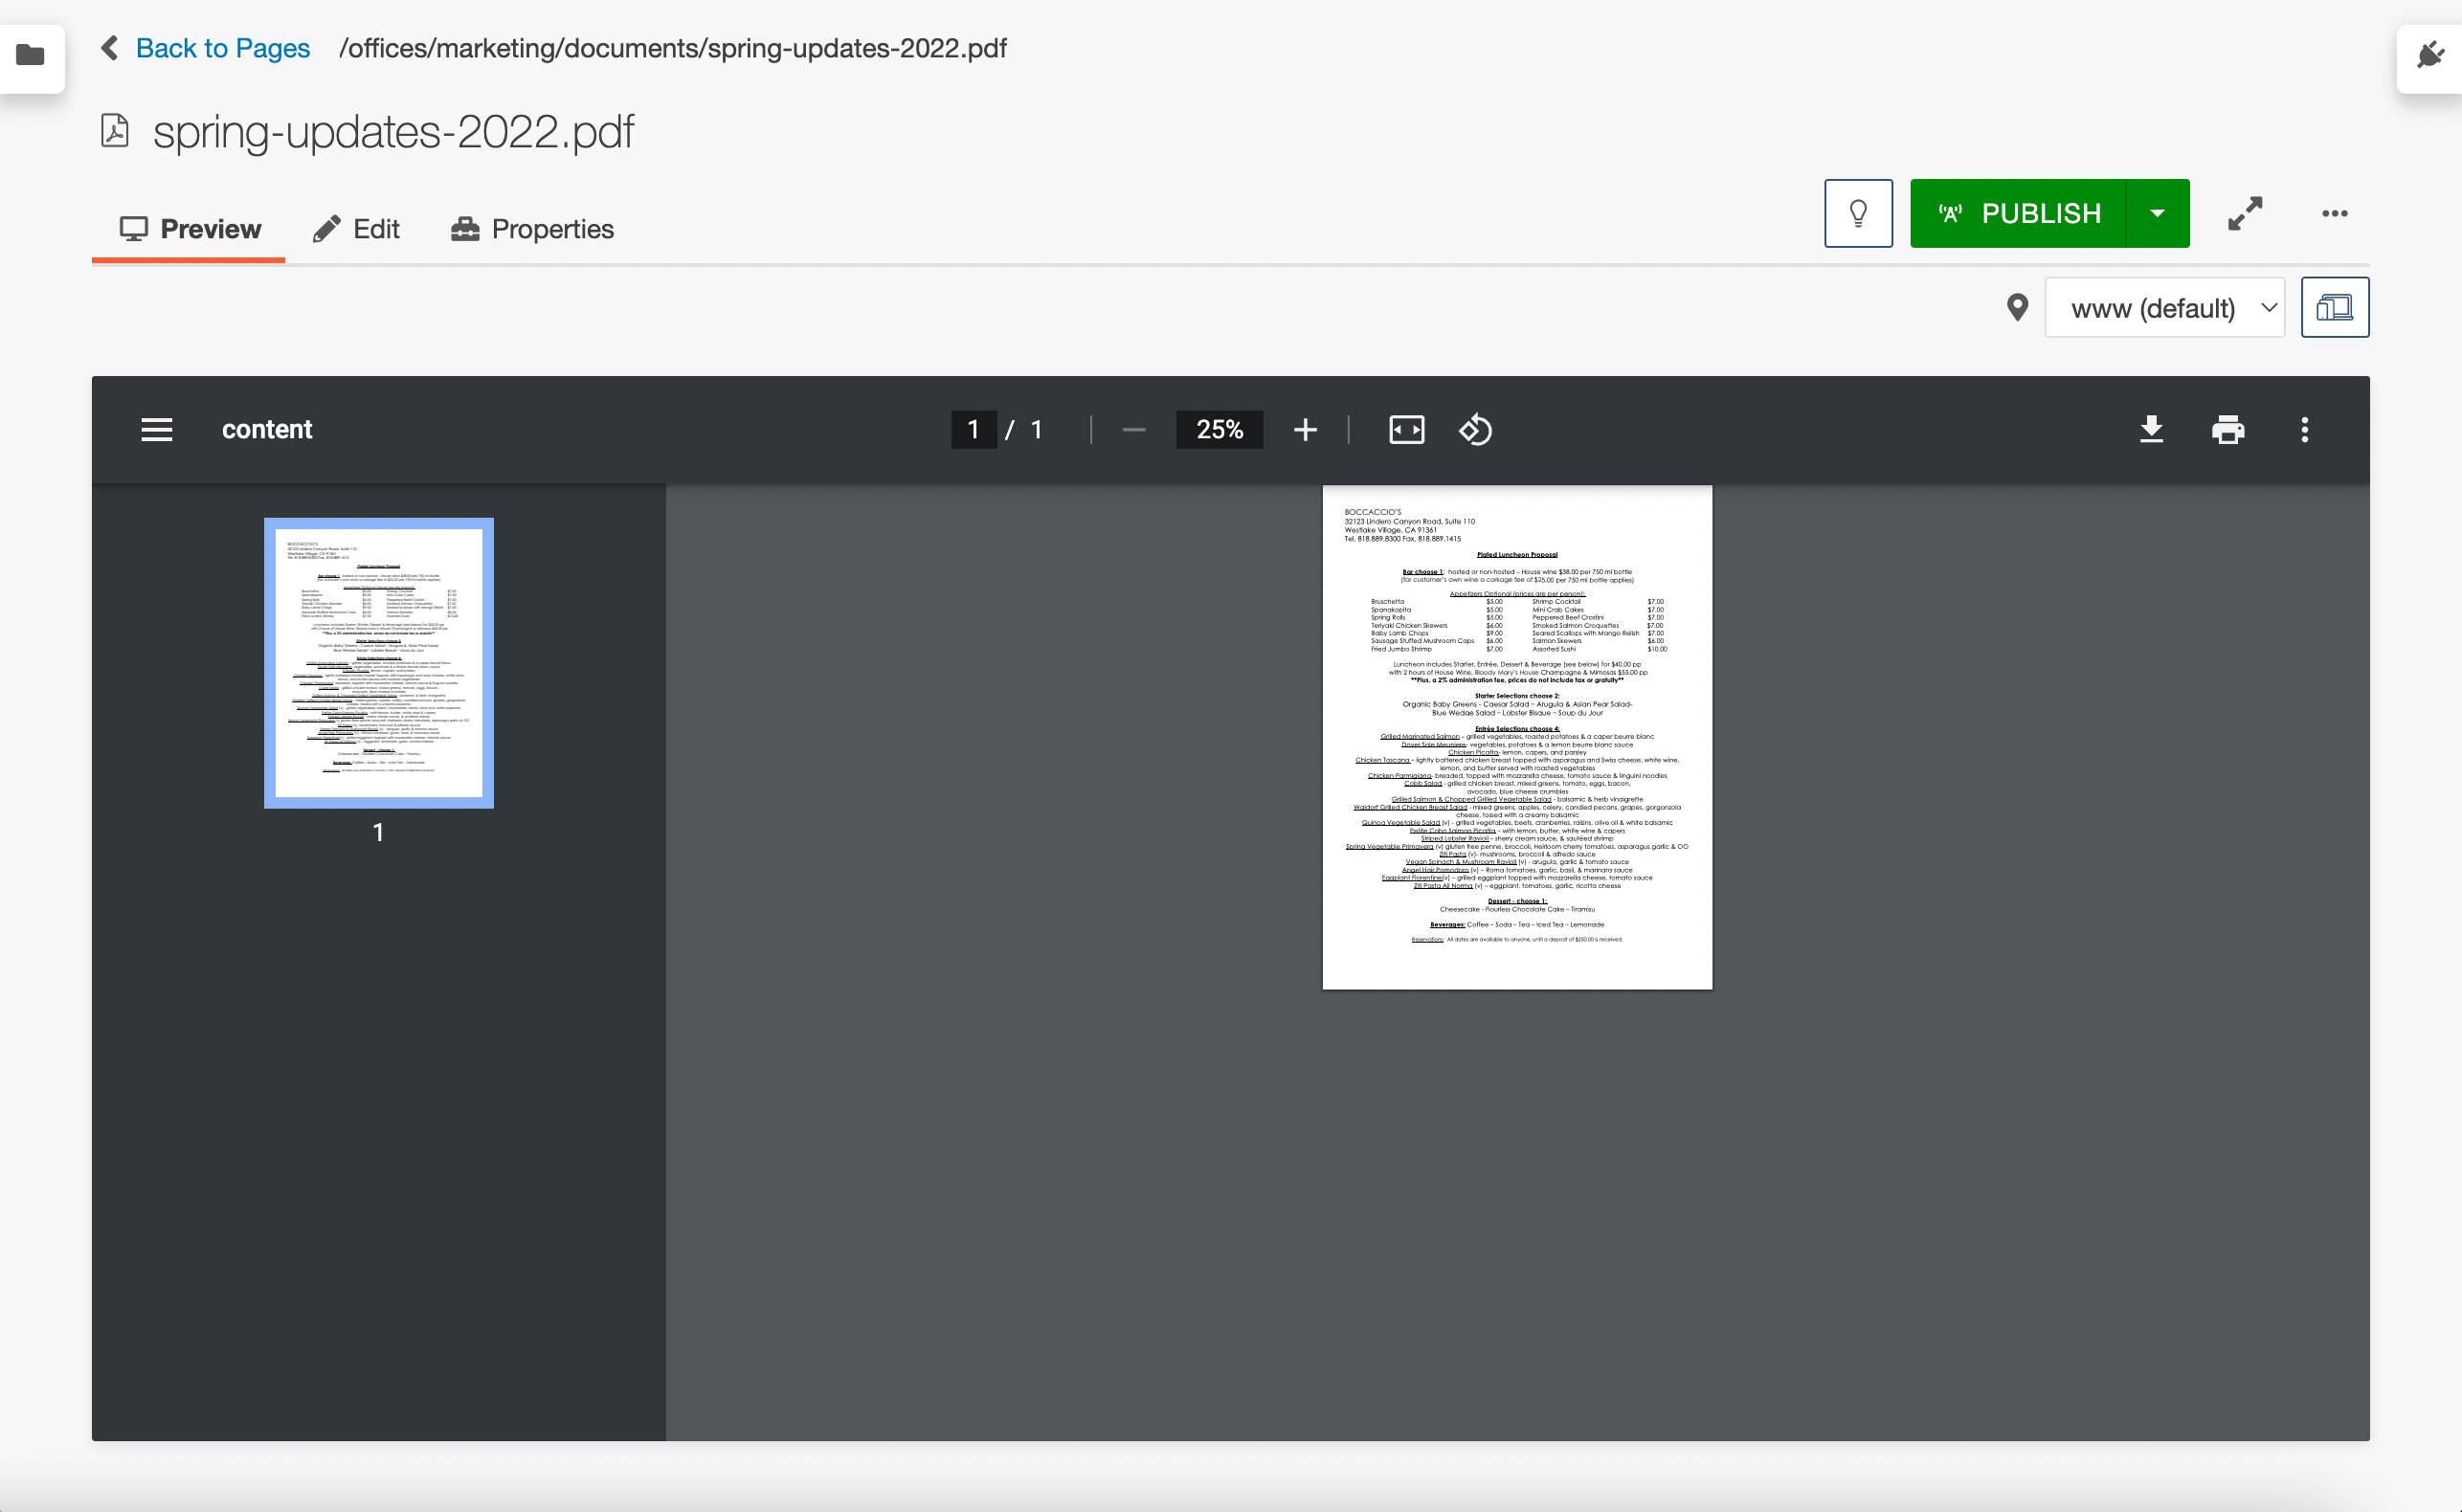
- If you would like to link to the document from somewhere outside of the CalLutheran.edu website (e.g., email campaign, social media post, presentation slides), you can obtain the link by clicking on the document in Modern Campus CMS to copy and paste the URL from the upper left corner of the screen (and precede it with https://callutheran.edu/), as seen in the example below.
- If you would like to link to the document from somewhere inside of the CalLutheran.edu website (e.g., a page in your department's section of the website), the best way to do this is to navigate to it from the file browsing system within Modern Campus CMS. While you are Editing a Page and creating Hyperlinks, select the text that you want to hyperlink and click the Insert/Edit Link
 tool in the editor toolbar to open the Insert/Edit Link window. Then, click the URL
  icon to browse to your file that is stored in the documents folder within your section of the website. Click the
  button to insert the document. This generates a unique ID number in the format of {{f:#####}} and allows you to click the
  button to create a hyperlink, as seen in the example below.
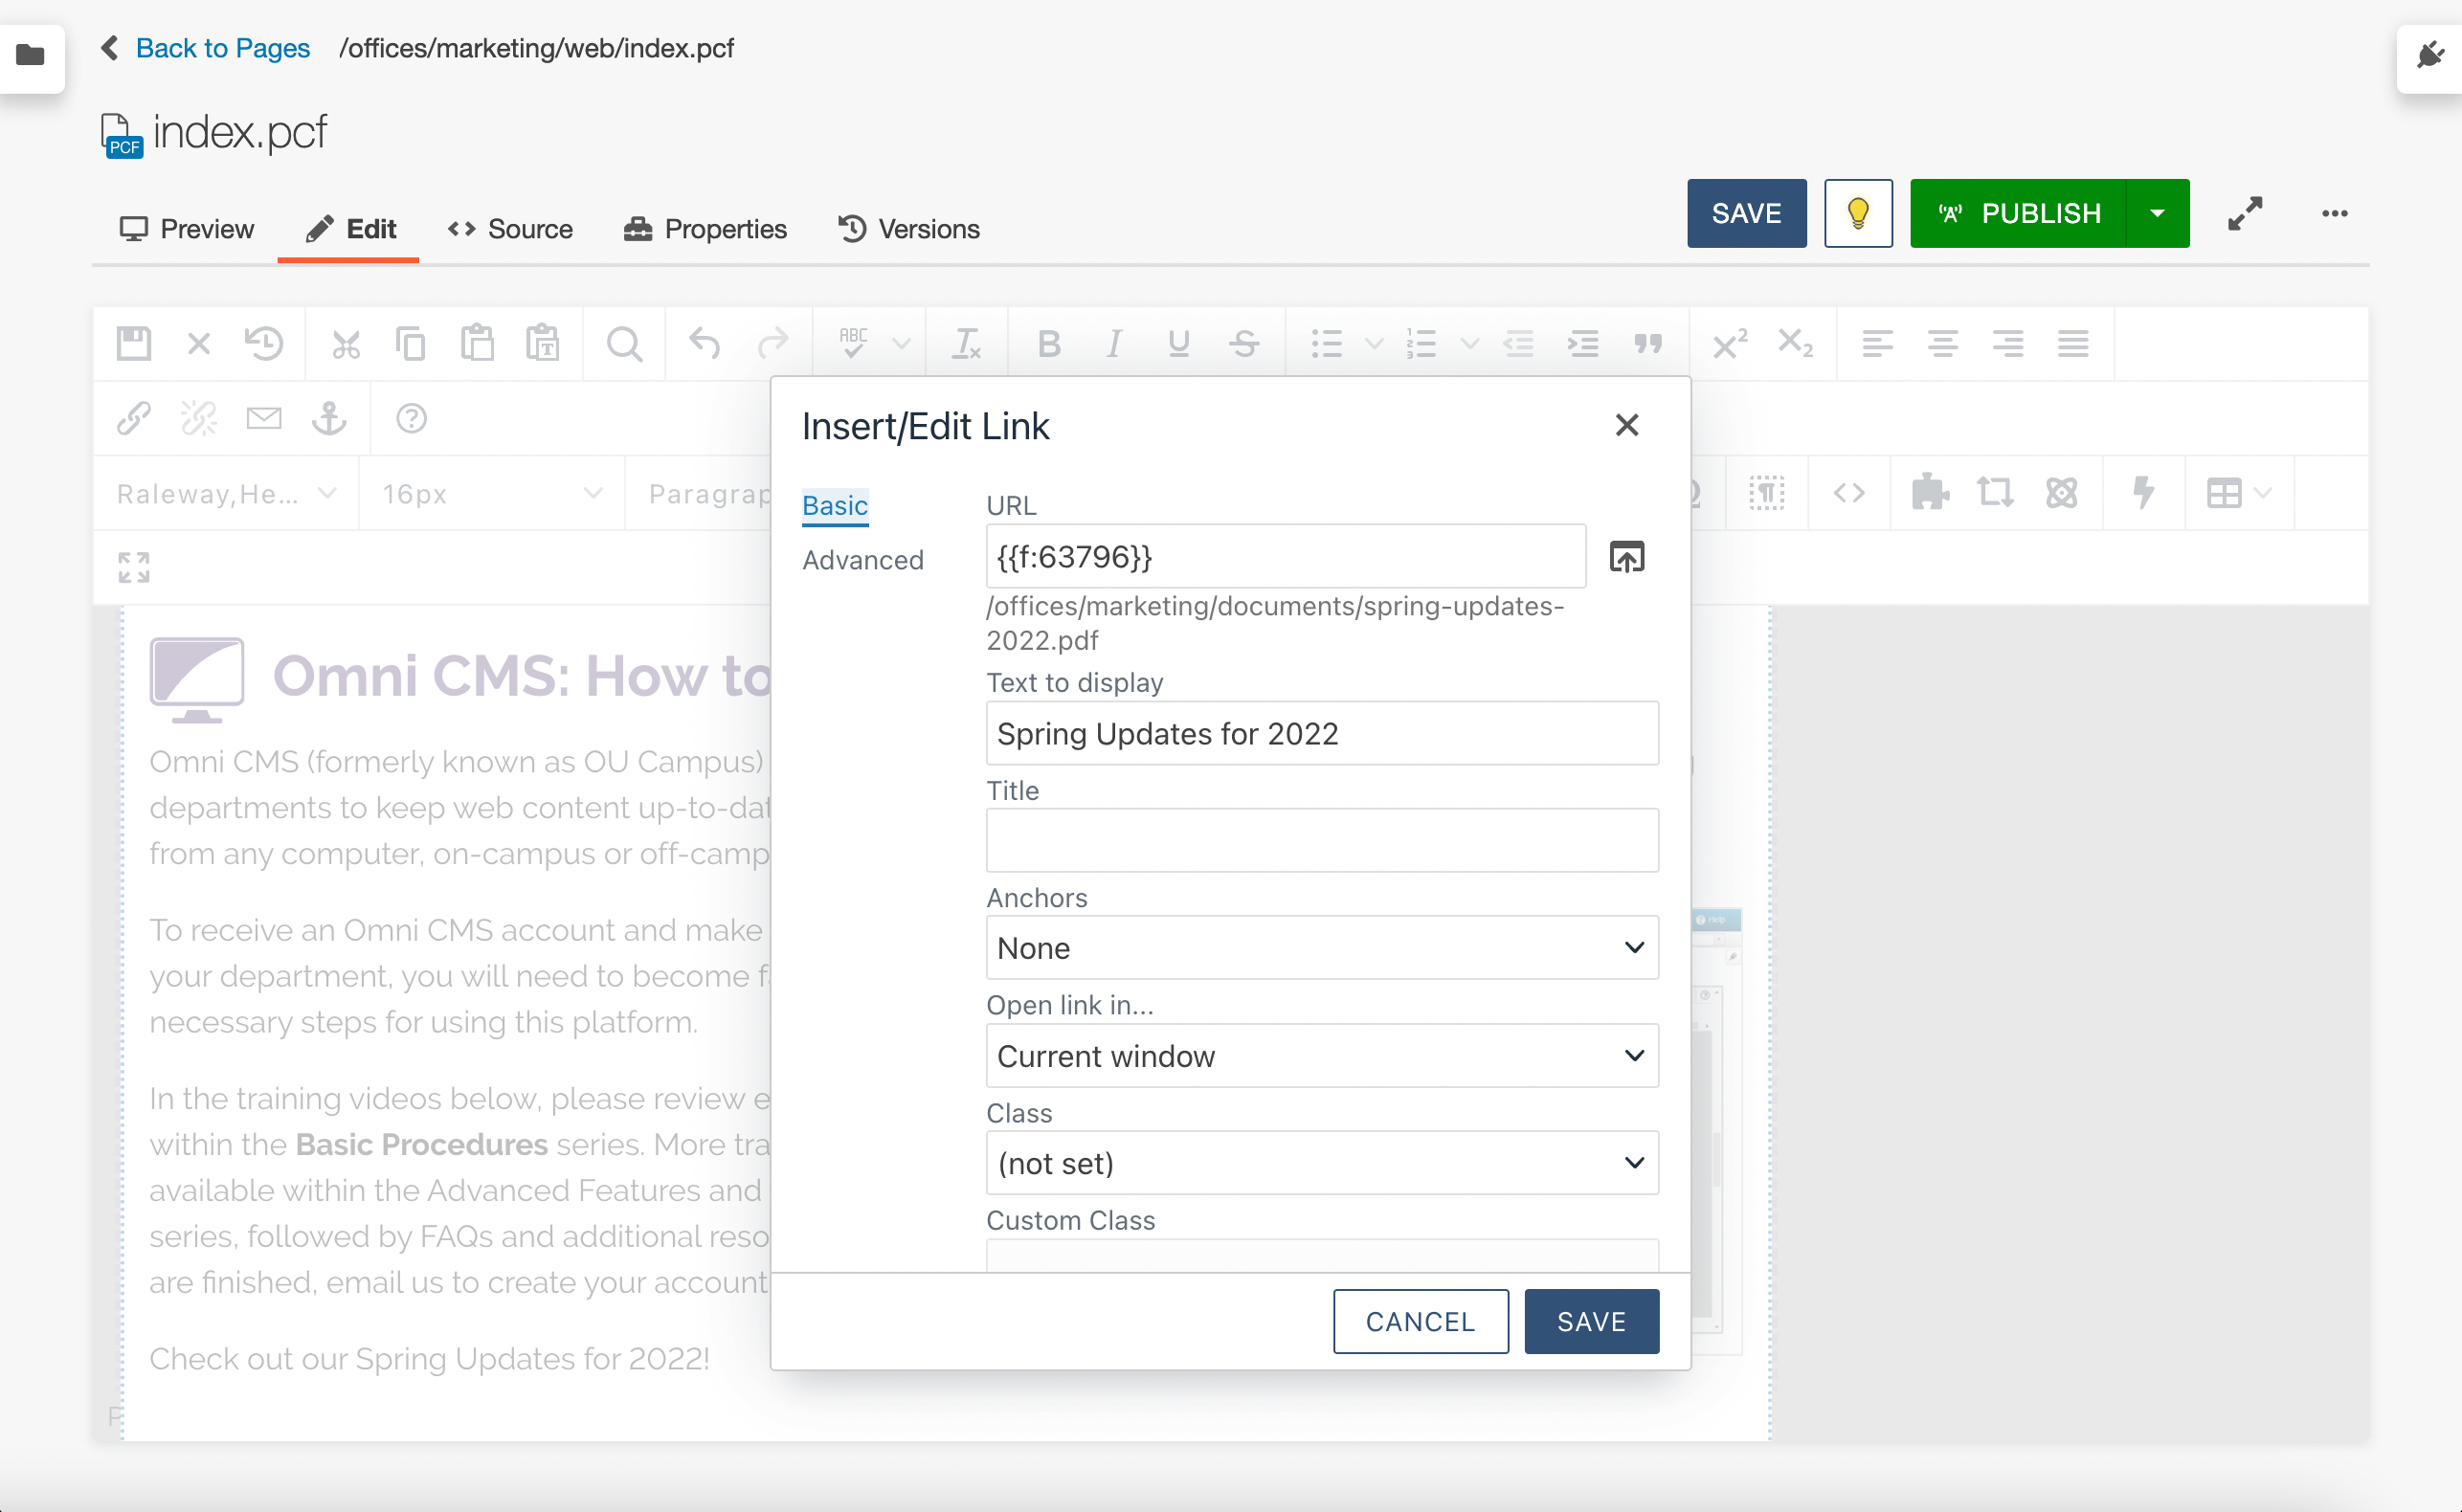
How to Update an Existing Document
In some instances, you may want to update a document that was previously uploaded to the CalLutheran.edu website. This allows you to refresh the document with the latest version of the document on your computer, without changing the URL or document name on the website. The steps to do this are a simplified version of the steps required to upload a new document.
1. Add the Document
While you are Editing a Page, click the link in the upper left corner of the page. Then, navigate to the root menu item for your section of the website and select the documents folder. Click the button in the upper right corner of the page to open the Upload to... window and click the button to add the file from your computer, as seen in the example below. Then, tick the Overwrite Existing checkbox and click the  button, as seen in the example below.

2. Receive Confirmation Banner
After uploading, look for a banner in the bottom left corner of the screen that reads The file was uploaded successfully. This confirms that the online document has been overwritten with the new document that you uploaded from your computer.
All of the existing hyperlinks to the document will now automatically display the document in its new version.
| < Previous Article |